Buy-Me Buttons Support
Categories/Departments
Categories are used to group products into departments, making them easier to navigate and find. Categories are only an option for Internet Store products, not Buy-Me Buttons.
Add a Category/Department
To add a department/category for your items:
- Log into the Management Console here
- Select the Internet Store
- Select Modify my Existing Setup
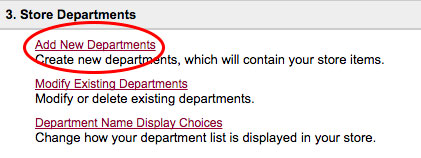
- Scroll to the Store Departments section and click Add New Departments
- In the How to Create a Department section, enter a Department Name. Names can be up to 75 characters, but we recommend no more than 11 characters in length.
- If you'd like a description displayed between the category title and items, enter a description in the Add a paragraph to your department section
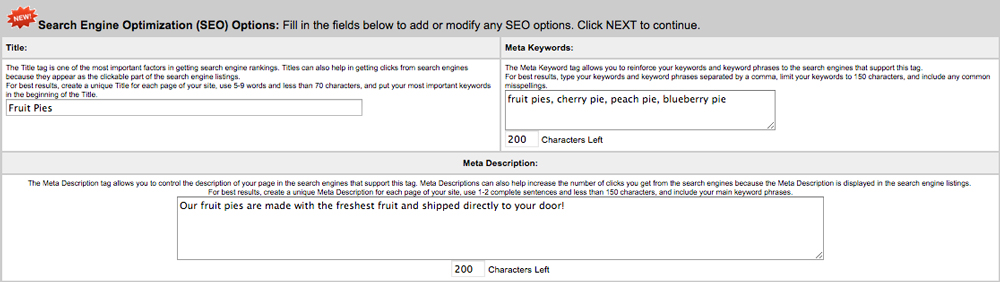
- In the Search Engine Optimization (SEO) section, you may enter information that will help your customers find you in a search engine. You may enter the following items:
- Title: The title tag will display as the clickable link to your website in search engine results, and also will appear in the internet browser window as the name of your webpage. For best results, create a unique title for each page. Use 5-9 words, and less than 70 characters. Use the most important keywords at the beginning of the title.
- Meta Keywords: Though meta keywords are being phased out in SEO practices, they may still be used to designate keywords to be picked up on by search engines.
- Meta Description: The meta description is what appears as the description of your page in search engine results.
- If you'd like, you can add an optional audio file that will play when a department is selected. To do so, click the Choose File button in the 'How to upload an audio file' section, select the file from your computer's hard drive and click Open. Supported audio file formats include AVI, WAV, RAM, AIFF, AIF, ASF, MP3 and MOV.
- If you'd like, you can add an optional image that will display when a department is selected. To do so, click the Choose File button in the 'How to upload an image file' section, select the file from your computer's hard drive and click Open.
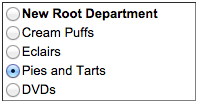
- If you have already created other departments, you have the option to make your new category/department a subcategory of one of the existing categories. To do so, select the existing parent category from the list and click Next.
- You will be brought to a page asking whether you have any more departments to add. If you select Yes and click Next, you will be brought back to the original page to create the next department. If you select no and click Next, you will be brought to the Modify Your Store page, with the category successfully created.
Modify, Delete or Change the Order of an Existing Category/Department
To make any changes to an existing category:
- Log into the Management Console here
- Select the Internet Store
- Select Modify my Existing Setup
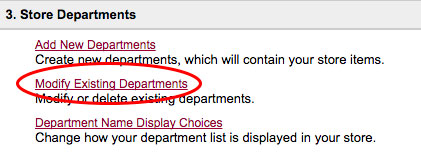
- Scroll to the Store Departments section and click Modify Existing Departments
- A list of all existing departments will display with an Edit, Delete and Item Order link in each row.
- To edit a department, click edit next to the department you'd like to change. You will be taken to the initial Create Category page, make any desired changes and click Next.
- To delete a department, click delete next to the department you'd like to remove. A message will display asking "Are you sure that you want to delete this department?" Click OK.
- To change the order of items in a department, click item order next to the category you wish to rearrange. A list of items will be displayed, click an item and click the Move Up and/or Move Down buttons until it is in the correct position. Repeat with other items until they are arranged correctly and click Next.