Shopping Cart Support
Converting Total Package to Premium Cart
If you are a Total Package customer who is converting to the Premium Cart, follow these steps to export your internet store's inventory and reimport it into your new store.
Step 1: Export Total Package Inventory
- Log into your Management Console here.
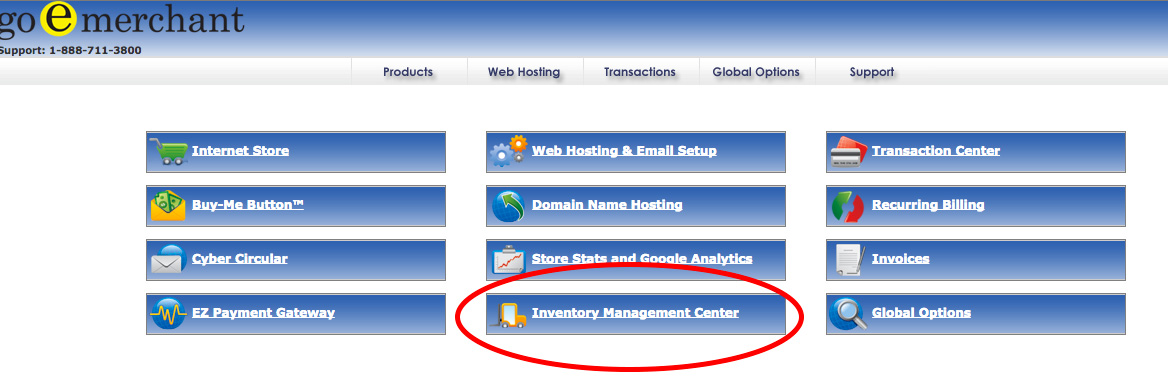
- Select Inventory Management Center
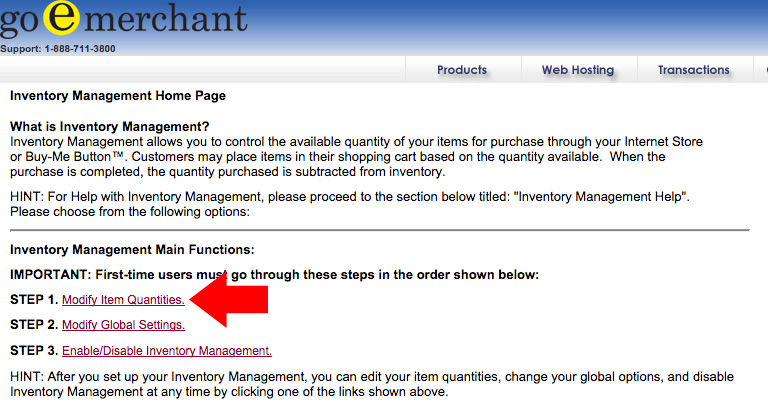
- Click Modify Item Quantities.
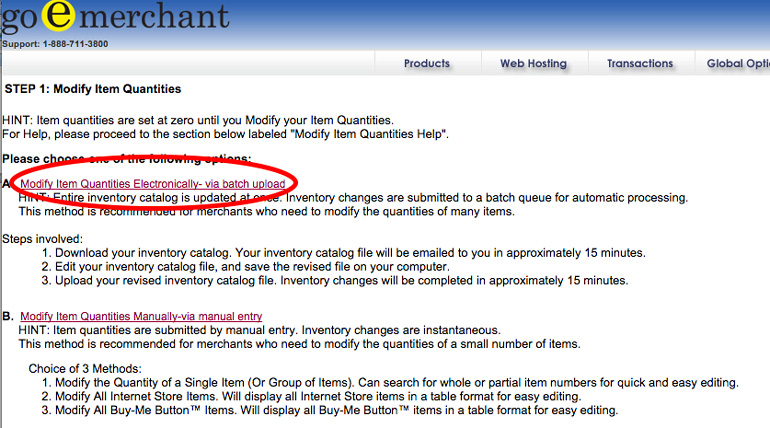
- Select Modify Item Quantities Electronically
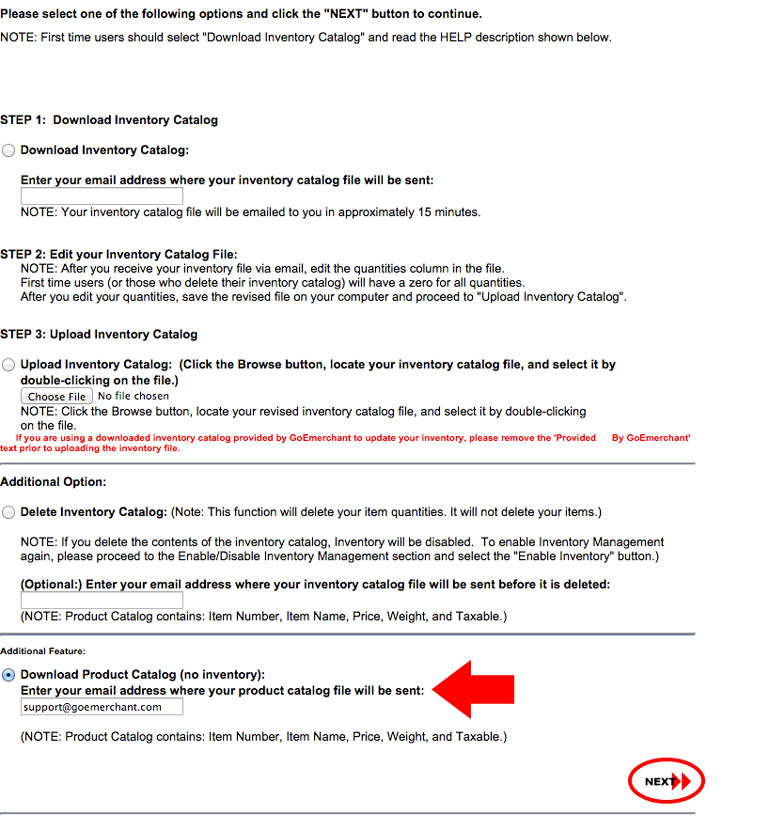
- Under Additional Features, select Download Product Catalog (no inventory). You will need to enter your email address in the box, and click Next.
- Check your email, and the file will be emailed to you. Right-click the attachment, and save it to your desktop.
Step 2: Upload Inventory to New Premium Cart Store
Now that you have exported your store's inventory, you must reformat it and upload to your new store:
- From your computer's desktop, right-click the .txt file containing your Product Catalog from the Total Package store, and select Open With... Microsoft Excel or another spreadsheet software.
- Next, log into your Online Store Manager.
- Go to Products Export/Import
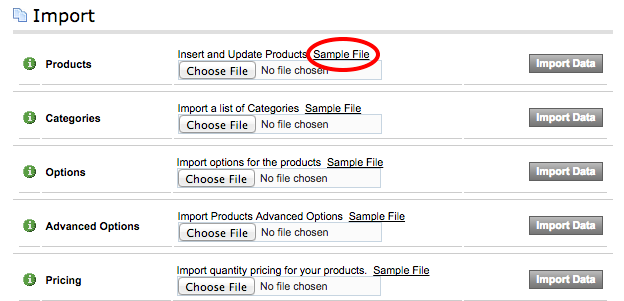
- In the Import section next to Products, you will see the description "Insert and Update Products". Right-click the link to the Sample File, and save it to your desktop. Open this file once it has downloaded.
- This file includes multiple columns. For each of the required fields, copy the entire column from your Total Package Store's .txt file and paste it into the corresponding column in the 3dCart Sample File. Below are the required fields; for more information on these and the unrequired fields, see this article.
- id: This field is the unique product id (SKU or Part Number) of the product. This can be any combination of letters and numbers you choose. The system will assign a separate database ID that will be used to keep track of each product in the backend of the system, this is called the CATALOGID and will only show in a product export. The CATALOGID is not included at this time since it is not needed for importing new products.
- name: This is the name of the product.
- price: This is the price of the product that you want to charge the customer. Use only numbers; do not enter the currency sign. It's a required field cannot be left blank for any product.
- stock: This is the stock (Quantity On Hand) of the product. It's required when Inventory Control is enabled. This is a numeric field.

- The rest of the fields are optional, and you may fill them in if you wish. Do not delete a column if you do not wish to enter the information.
- Once information has been updated, save the file to your computer.
Tip: When saving the file in your spreadsheet program, select the "Save As" option and be sure to specify the CSV filetype as "CSV(MS-DOS)." If using a Mac, save using the "Windows Comma Separated" option. Most spreadhseet programs contain this option and it will ensure your CSV file's formatting is fully accepted by the 3dcart store's import system.
- From the Export/Import Products page, click Choose File in the Import section's Products field.
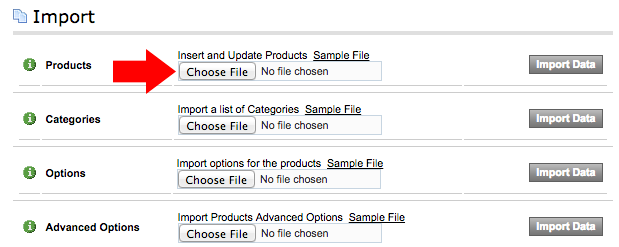
- Click Import Data
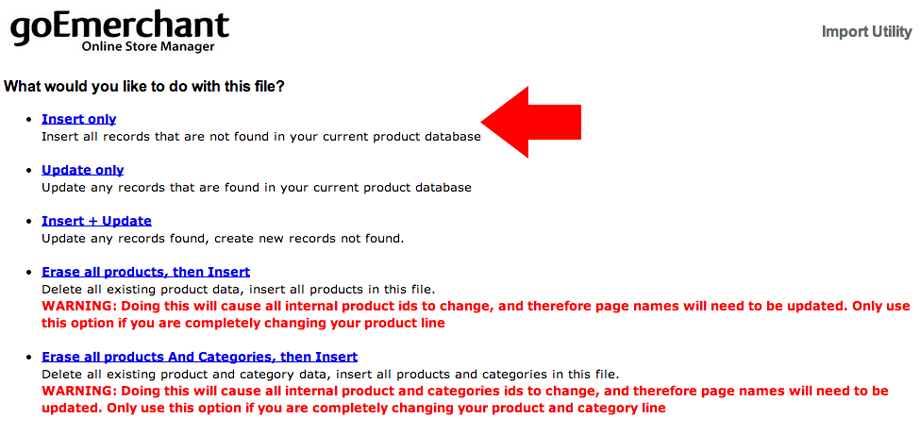
- You will be given a choice of Import Option. Select Insert Only. For more information on the other options, view this article.
- The products have now been imported! You may view them in the Products View/Edit screen.