1stPayPOS Support
Setting Up Hardware
View more information on setting up 1stPayPOS iPad POS System hardware at www.1stPayPOS.com.
1. Connect to Wi-Fi
Configure Wi-Fi Network
Set up your wireless internet router using 1stPayPOS System Requirements, and PCI Compliance Standards.
- Must be Broadband Internet Connection with local Wi-Fi
- Wireless router encryption should be set to WPA2.
- Wi-Fi passwords should be changed from the factory default to a minimum 13-character password
- Wireless routers must be kept out of customers' plain sight, and secured against easy access
- Wireless routers used for POS system should be separate from customer-accessed Wi-Fi network
- Wireless network SSID (the name assigned to the wireless network) should not contain the business name or be the default factory name
- SNMP community strings should be changed or disabled
- Wi-Fi network should support multicast and/or Apple BonjourŽ
- Please consult your wireless router user manual for assistance with adjusting these settings.
Connect to Wi-Fi
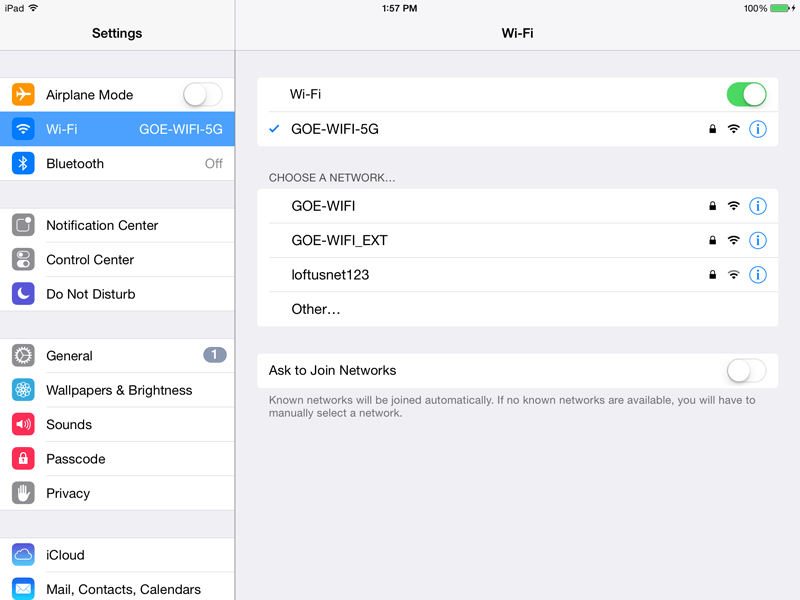
On your iPadŽ, go to Settings Wi-Fi, and select your Wi-Fi Network from the list that appears. Enter any login credentials necessary.
2. Connect Printer
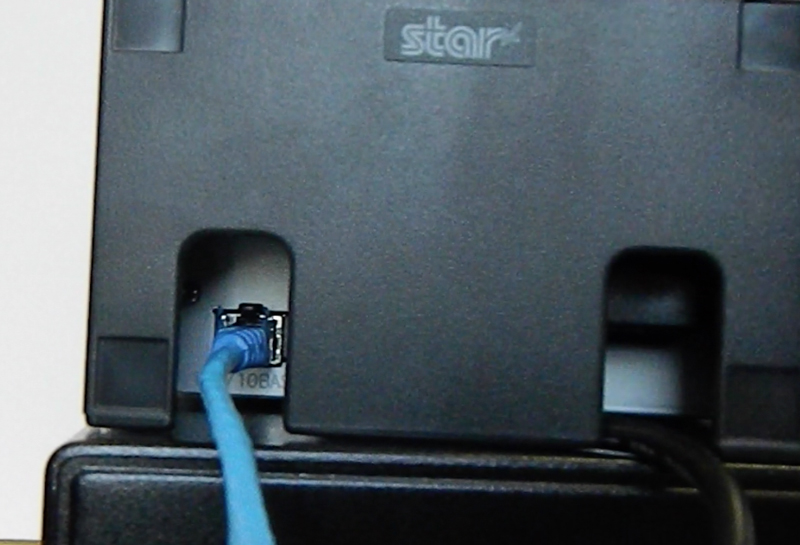
Connect Ethernet cable into the 100/10BASE port on the back of the Star Receipt Printer. Plug the other end of the Ethernet cable into a LAN port on your wireless router. Then plug the power cord into a grounded AC outlet. When connected, the printer "Ready" light will blink green, then turn solid green.
3. Connect Cash Drawer
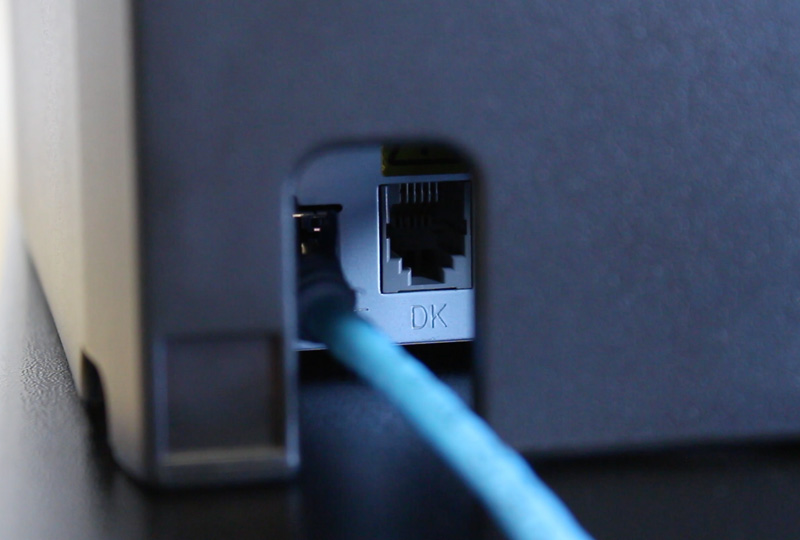
Connect the Cash Drawer cable into the "DK" port on the printer.
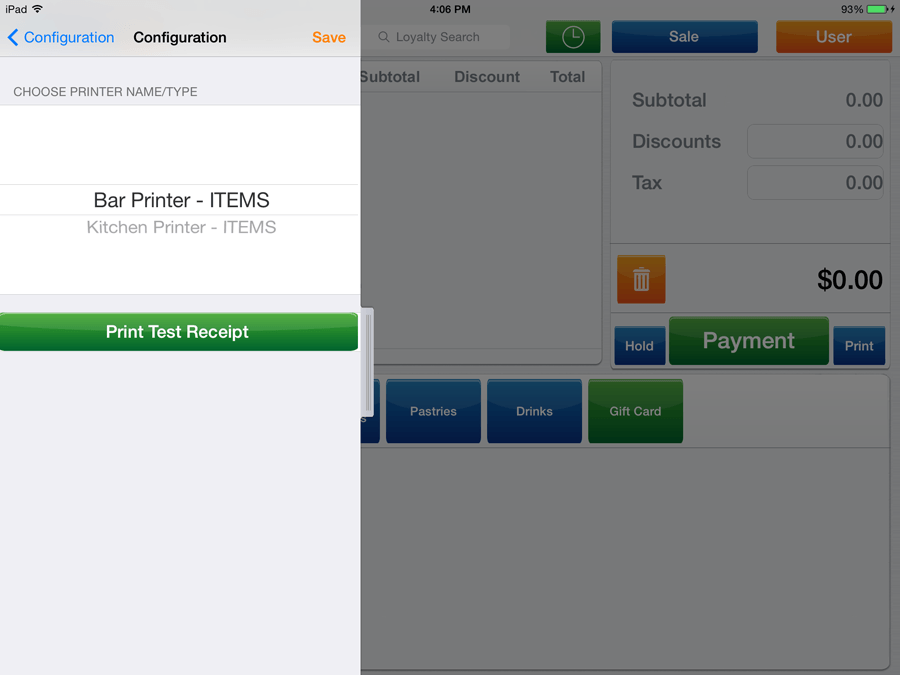
4. Print Test Receipt
- Open the 1stPayPOS app on your iPad and sign in with your PIN.
- Tap the left side menu, then tap Settings Printers Star Printer.
- Tap Configure Printer.
- Tap the printer name after the app locates your printer on the Wi-Fi network.
- Select the name of your receipt printer. This must be set up in the 1stPayPOS Portal. Read detailed instructions on this here.
- Tap Print Test Receipt.
- Tap Save. From the Configuration Screen, you will now see your named printer in the list of Printers.
Related Links:
5. Assemble iPad Stand
Windfall Stand Setup:
Windfall Stand for iPad Mini Setup:
@Rest Stand Setup:
6. Connect Card Reader
uDynamo:
Insert the uDynamo card reader into the audio port of your iPad. In 1stPayPOS, go to Settings Card Readers and tap uDynamo.
NOTE: The uDynamo must be charged every 300 swipes. A USB cable is provided to allow charging.
iDynamo:
Attach the appropriate connector to the iDynamo card reader. Insert the iDynamo into the dock port on your iPad. In 1stPayPOS, go to Settings Card Readers and tap iDynamo.
7. Connect Bar Code Scanner
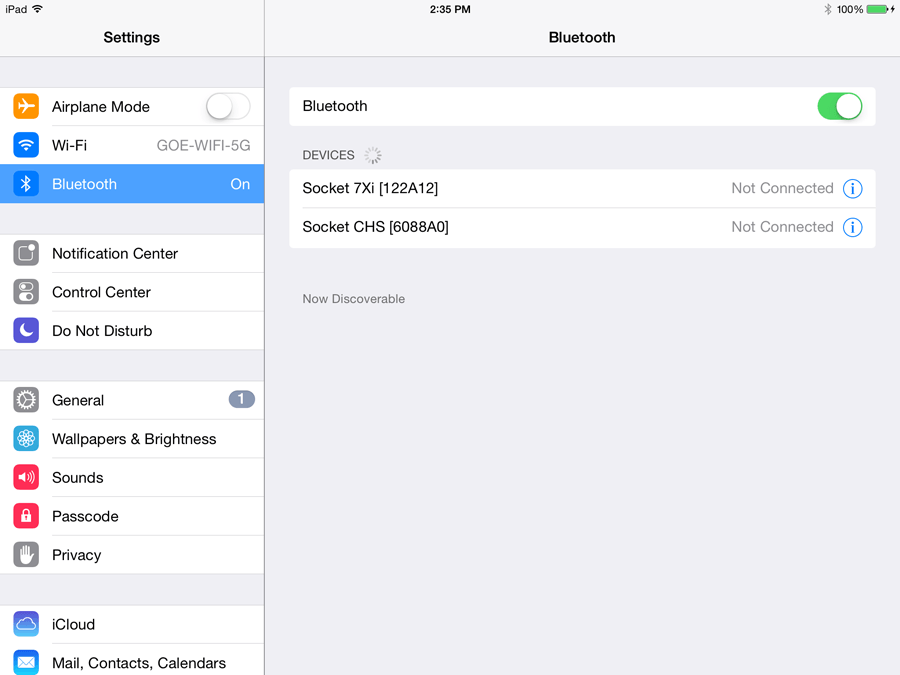
- Go to the Settings in your iPad, tap "Bluetooth" on the left side of the screen. Tap the "OFF/ON" switch to change it to "ON".
- Turn on the scanner by pressing the smaller button on top of the scanner until it beeps twice, low to high.
- The device should appear on the iPad as "Socket CHS"; select to pair the scanner to the iPad.
- Refer to your User Manual for detailed instructions.
See Also:
