Payment Page Builder Support
Account and Page Setup
Logging Into Your Account
- From your Incoming Email account, open the Login Email from Technical Support. This contains your account login information.
Note: If you don't see the email in your inbox, check the Spam Folder.
- Log into your account here.
- Enter your Transaction Center ID, username and password.
- Click Login
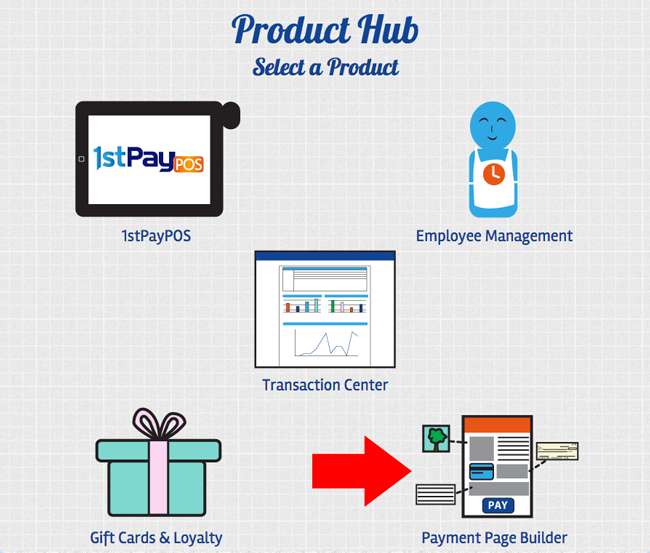
- You will be brought to the Product Hub. Select the Payment Page Builder. If you're already logged into the Transaction Center, you may also access the Payment Page Builder from Main Options Payment Page Builder.

Creating a New Payment Page
You have the ability to create either a Payment or Donation Page. Payment pages are used for merchants charging a certain amount for a service, product or event. Donation pages are used to accept a customer-designated amount. To create a Payment or Donation Page:
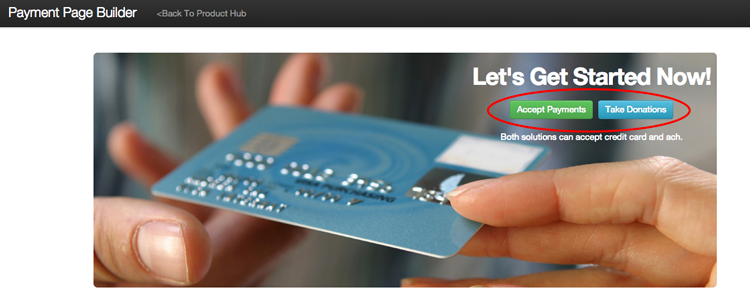
- In the top banner image, there are 2 buttons: Accept Payments and Take Donations. If you'd like to create a payment page, select Accept Payments. If you'd like the page to be a donation page, select Take Donations.

- After creating the page, you will want to explore the 4 Setup tabs and make all desired configurations. There is a separate support article for each of these tabs. Browse these links to get more information on each:
Making Your Page Live
When you are finished making changes, you must manually put your page live so that your changes are visible to the public. To do so:
- Click Save & Exit at the bottom of your Payment Page editor. You may also click Go Back in the top navigation.
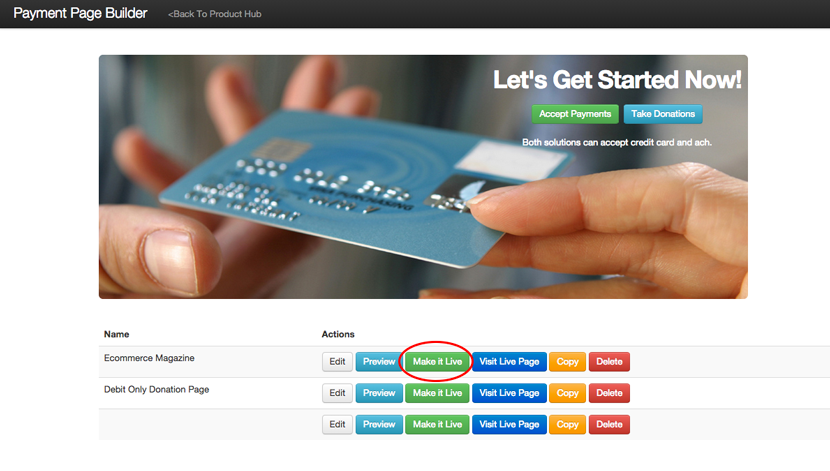
- You will see all of your payment pages listed below the banner image. Next to the one you'd like to make live, click Make it Live.
- Your changes are now live! You may click Visit Live Page to see the live page.
- You may continue editing your page at any time.

