Transaction Center & VPOS Support
Account Setup
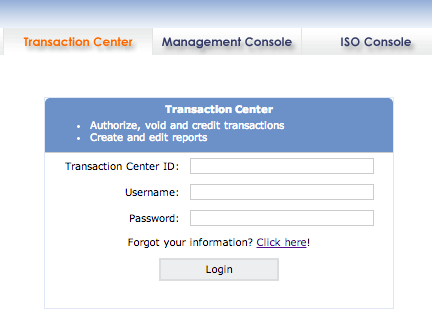
Step 1: Logging In
- Visit https://secure.1stpaygateway.net/secure/login/tc/login.aspx
- Select Transaction Center
- Enter in the Transaction Center ID
- Enter Username
- Enter account Password
- Click Login
- On the Product Hub, select Transaction Center
- If your account is Multi-MID, select the appropriate MID and click Submit
Step 2: Set Up Receipt
- Hover over the Main Options Tab
- Click on Receipt Options
- Enter in your business information and any other information that your customers should see on their receipts. Read more about Receipt Settings here
- Click Submit
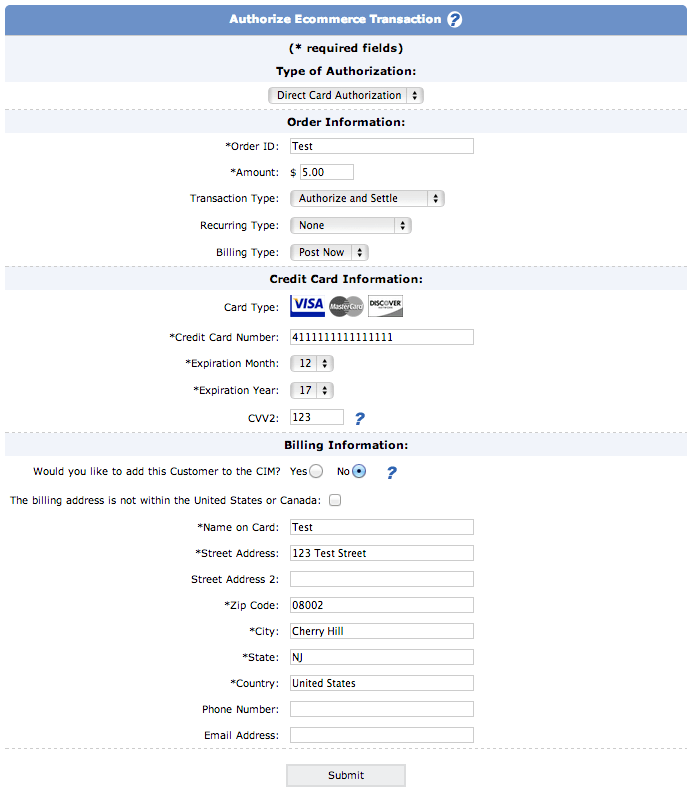
Step 3: Perform a Test Transaction
- Highlight over the Virtual Terminal Tab
- Select Authorize Transaction (will either be ecommerce, MOTO, ACH or Retail, based on your account type)
- Enter in the Order ID (for example: test)
- Enter in the amount of 5.00
- Choose Authorize and Settle for the transaction type
- Leave Recurring Type as none
- Choose the Billing Type as Post Now
- Under Credit Card Information, enter in the credit card number 4111111111111111
- Enter the expiration month of 12
- Enter the expiration year of 18
- Enter in the CVV2 Code of 123
- Under Billing Information, enter the Name on Card as Test
- Enter the Street Address as 123 Test Street
- Enter the Zip as 08002. This should automatically fill in City, State and Country fields.
- Click Submit
- This transaction should give a decline message
Step 4: Search for the Test Transaction
- Highlight over Virtual Terminal
- Click on Search Transactions
- Enter in any search criteria if preferred, or leave blank
- Click Begin Search at the bottom of the page
- You will be brought to a page showing the results of your test transaction. You can click on the magnifying glass icon in that row to view transaction details and perform credits, voids & additional authorizations.
You Must Also Note:
There are a few additional steps that are necessary to completing your Merchant Account and Transaction Center setup. Please see below:
- Create Security Questions. For assistance, see this article.
- If you are locked out of your account or have had 3 failed login attempts, see this article.
- Obtain your Gateway Information to link Merchant Account with 3rd Party Software. For assistance, see this article.
- In order to receive processed funds, you must submit a Credit Card Batch. View this article for more information.
- Per Visa/Mastercard regulations, transaction data can only be viewable in the Transaction Center for a maximum of 180 days. If you would like a permanent record of your transactions, you can create and download transaction reports from the Reporting/Metrics section of the Transaction Center. For more information on Reporting/Metrics, please see this article.
- Per Visa/Mastercard regulations, any merchant that processes credit card transactions over the internet must have the following four parameters on their web site:
- A Privacy Policy
- A Refund Policy
- A Secure Checkout
- Two Pieces of Contact information. This information should match information provided on the merchant account application.